
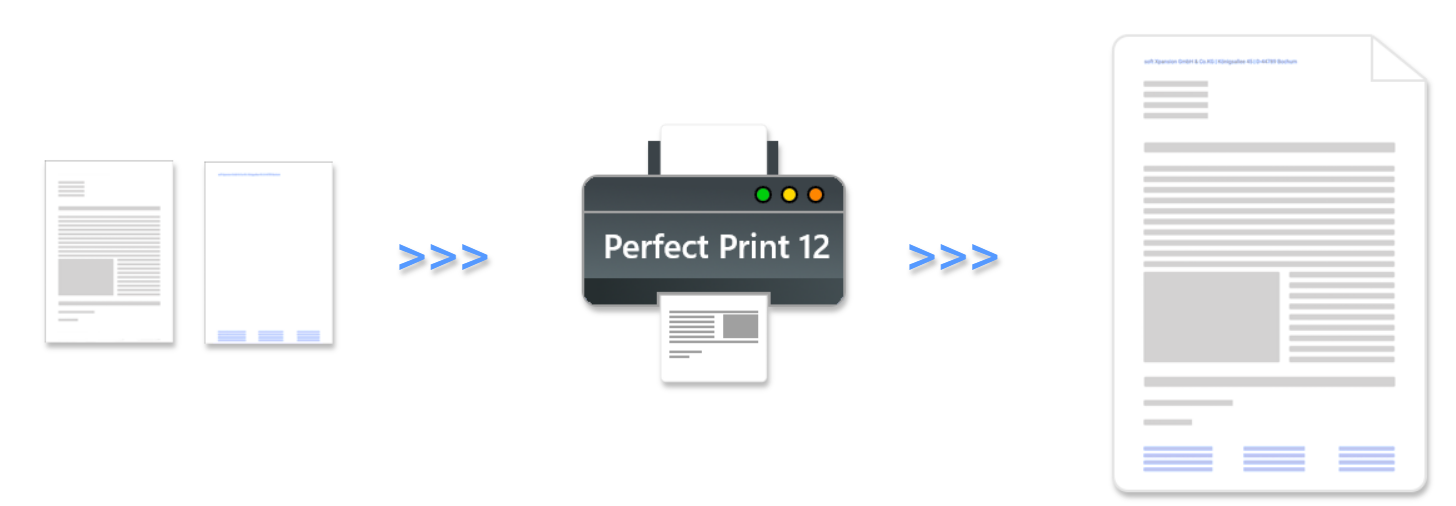
How to do this: create layouts.
Perfect PDF® 12: New, modern design, Windows 11 compatible and more powerful than ever before
Create templates
In Perfect PDF® 12
Read more about Perfect Print
1 | Using Perfect PrintPerfect Print is integrated as an independent application in Perfect PDF 12. To call up Perfect Print, Perfect PDF 12 must first be opened. Click on “File” to display the option “New Perfect Print window”. A new window is displayed when you open it. Different predefined layout types can be used to create a template: Redesign-, brochure-, grid-, poster- & custom layout. For this tutorial, the redesign layout is used, as a letterhead is used for later use in invoices. In the program settings of Perfect PDF 12, you can also activate the professional mode of Perfect Print, which gives you more freedom. For normal use, however, the normal mode should be completely sufficient. Further information on other use cases can be found on the product page of Perfect Print. |  |
2 | Useful application tipsIn Perfect Print, templates are created by producing a collection of different elements. These elements are text design elements, lines, rectangles, grid design elements (images), rich text or PDF design elements. The last element, the design element block, can be used to position other elements. With the exception of the text elements & the line, the design elements can have as many sub-elements as required. For example, an image can have a text element on the left-hand side, with a rectangle in the middle containing text and a line. The company logo (again an image) can then be displayed as a sub-element on the right-hand side. Clicking on “Layout” always takes you back to the overview page (i.e. the top element). In order to maintain a clear structure, a title can be specified for each element – such as “Logo” or “Block top”. This only serves as an orientation for the creator and is optional. |  |
3 | Top design blockClick on the pencil next to “Background” to open “Add sub-elements”. There you then select the design element block, as the company logo should be at the top left and the company name and address on the right. A sub-element has now been added in the left-hand column – the design element block. Click on the blue pencil next to it to open the view of the design elements block. |  |
4 | Alignment of the blockThe block should cover the entire width of the document, which is why “Size of parent element” should be selected for Horizontal size. As we want to limit the height of the element, we set a fixed size such as 100 pt for Vertical size. To define the spacing of the inner elements that are still being created, we can specify 20pt as the value for Margins. All these settings are not visible. Visible elements now follow. |  |
5 | Add company logoNow click on “Add sub-element” in the design element block. Then select “Grid design element” to be able to insert the company logo. Click on the blue pencil next to the grid design element again to set an image, position and size. As the margins have already been set in the parent element (the design block), no margins are now required. The top/left alignment is preset and suitable for the project. |  |
6 | Company name and addressNow we go back to the parent element (click on the button of the same name) and insert a RichText design element as a sub-element, as this can be multi-line and can use several formatting options. There we specify that the text should be displayed on the right. For the company name, we use font size 24, font color black. For the address, we first select the two address lines and use size 16, color grey. Select all three lines and right-align the text. Then we move on to the footer. |  |
7 | FooterNow we go back to the parent element “Background” and insert a design element block there. You will now see 2 blocks there. Set the vertical size “Fixed size” to 50pt, margins 20pt and select the vertical alignment “Bottom”. Now you can enter text on the left, text in the middle and text on the right. To apply the created template, there is a tutorial already. |  |